


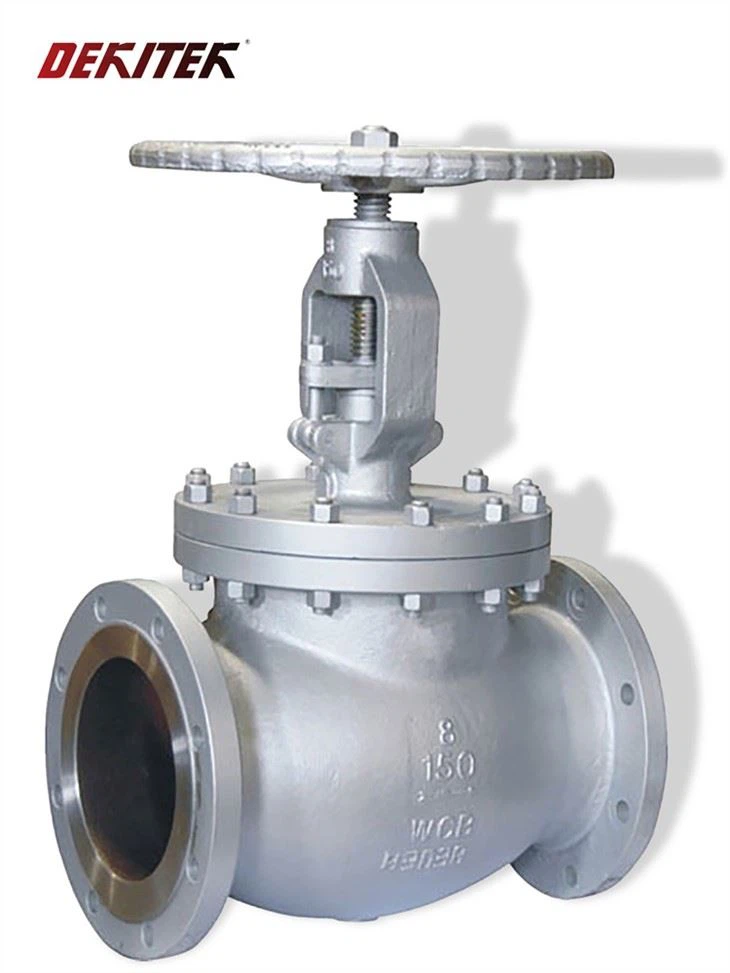
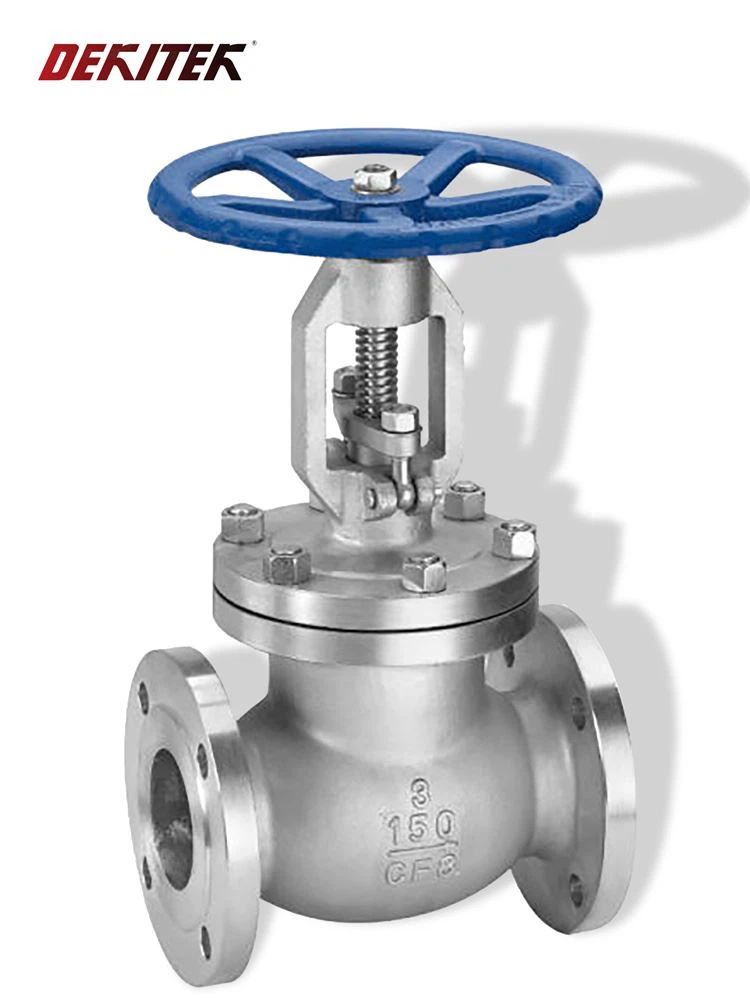
As a dedicated supplier of Stainless Steel Globe Valves, I understand the critical role these valves play in various industrial applications. Over time, however, these valves can accumulate dirt, grime, and other contaminants that can affect their performance and lifespan. In this blog post, I will share a comprehensive guide on how to clean a dirty stainless steel globe valve, ensuring its optimal functionality and longevity.
Why Cleaning is Essential
Before delving into the cleaning process, it's important to understand why cleaning a stainless steel globe valve is crucial. Dirt and debris can build up inside the valve, causing blockages, reducing flow rates, and increasing wear and tear on the internal components. This can lead to decreased efficiency, increased energy consumption, and even premature failure of the valve. Regular cleaning not only helps maintain the valve's performance but also extends its service life, saving you time and money in the long run.
Tools and Materials Needed
To clean a dirty stainless steel globe valve effectively, you will need the following tools and materials:
- Safety goggles and gloves
- A soft-bristled brush or toothbrush
- A clean, lint-free cloth
- Mild detergent or specialized valve cleaner
- Warm water
- A bucket or basin
- A small wrench or pliers (if necessary)
Step-by-Step Cleaning Process
Step 1: Preparation
- Turn off the valve: Before starting the cleaning process, make sure the valve is completely shut off to prevent any flow of fluid or gas. This will also ensure your safety during the cleaning process.
- Depressurize the system: If the valve is part of a pressurized system, carefully release the pressure according to the manufacturer's instructions. This will prevent any sudden release of pressure that could cause injury.
- Wear safety gear: Put on safety goggles and gloves to protect your eyes and hands from any chemicals or debris.
Step 2: Disassembly (if necessary)
- Check the valve design: Some stainless steel globe valves can be cleaned without disassembly, while others may require partial or complete disassembly. Refer to the valve's user manual or consult with the manufacturer to determine if disassembly is necessary.
- Use the appropriate tools: If disassembly is required, use a small wrench or pliers to carefully remove any bolts, nuts, or screws holding the valve together. Keep track of all the parts and their positions to ensure proper reassembly.
Step 3: Cleaning the Exterior
- Remove loose dirt and debris: Use a soft-bristled brush or toothbrush to gently remove any loose dirt, dust, or debris from the exterior of the valve. Pay special attention to the valve body, stem, and handle.
- Prepare the cleaning solution: Fill a bucket or basin with warm water and add a small amount of mild detergent or specialized valve cleaner. Mix the solution well to create a soapy mixture.
- Clean the exterior surface: Dip a clean, lint-free cloth into the cleaning solution and gently wipe the exterior surface of the valve. Use a circular motion to ensure thorough cleaning. Avoid using abrasive materials or harsh chemicals that could damage the stainless steel surface.
- Rinse the valve: Once the exterior is clean, rinse the valve thoroughly with clean water to remove any remaining detergent or cleaner. Use a cloth to dry the valve completely.
Step 4: Cleaning the Interior
- Soak the valve parts (if disassembled): If you have disassembled the valve, place the parts in the bucket or basin filled with the cleaning solution. Let them soak for a few minutes to loosen any stubborn dirt or grime.
- Scrub the interior surfaces: Use a soft-bristled brush or toothbrush to gently scrub the interior surfaces of the valve, including the valve seat, disc, and stem. Pay special attention to any areas where dirt or debris may have accumulated.
- Rinse the parts: After scrubbing, rinse the valve parts thoroughly with clean water to remove any remaining dirt or cleaner. Make sure all the parts are completely clean before proceeding.
- Dry the parts: Use a clean, lint-free cloth to dry the valve parts completely. Make sure there is no moisture left on the parts, as this could cause corrosion or damage.
Step 5: Reassembly
- Inspect the parts: Before reassembling the valve, carefully inspect all the parts for any signs of damage or wear. Replace any damaged or worn parts with new ones to ensure proper functioning of the valve.
- Lubricate the parts (if necessary): If the valve requires lubrication, apply a small amount of the recommended lubricant to the appropriate parts, such as the stem and packing. Follow the manufacturer's instructions for the correct type and amount of lubricant to use.
- Reassemble the valve: Using the appropriate tools, carefully reassemble the valve in the reverse order of disassembly. Make sure all the parts are properly aligned and tightened to the recommended torque specifications.
Step 6: Testing
- Turn on the valve: Once the valve is reassembled, slowly turn it on to allow fluid or gas to flow through the valve. Check for any leaks or abnormal noises.
- Monitor the valve performance: Observe the valve's performance for a few minutes to ensure it is operating smoothly and efficiently. If you notice any issues, such as leaks or reduced flow rates, shut off the valve immediately and repeat the cleaning process or consult with a professional.
Tips for Maintaining a Clean Stainless Steel Globe Valve
- Regular inspections: Conduct regular inspections of the valve to detect any signs of dirt, wear, or damage early on. This will allow you to take appropriate action before the problem becomes more serious.
- Proper storage: When not in use, store the valve in a clean, dry place to prevent the accumulation of dirt and debris. Make sure the valve is protected from moisture and other environmental factors that could cause corrosion.
- Follow the manufacturer's instructions: Always follow the manufacturer's instructions for installation, operation, and maintenance of the valve. This will ensure the valve's optimal performance and longevity.
Conclusion
Cleaning a dirty stainless steel globe valve is an important maintenance task that can help ensure its optimal performance and longevity. By following the steps outlined in this guide and using the right tools and materials, you can effectively clean your valve and keep it in good working condition. Remember to always prioritize safety and consult with a professional if you have any questions or concerns.
If you are in the market for high-quality Stainless Steel Globe Valves or Alloy Steel Globe Valves, Alloy Steel Globe Valves Factory, we are here to help. Our extensive range of valves is designed to meet the diverse needs of various industries. Contact us today to discuss your requirements and explore how our products can enhance your operations.
References
- Manufacturer's user manuals for stainless steel globe valves
- Industry standards and best practices for valve maintenance