
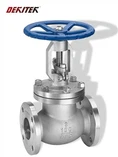

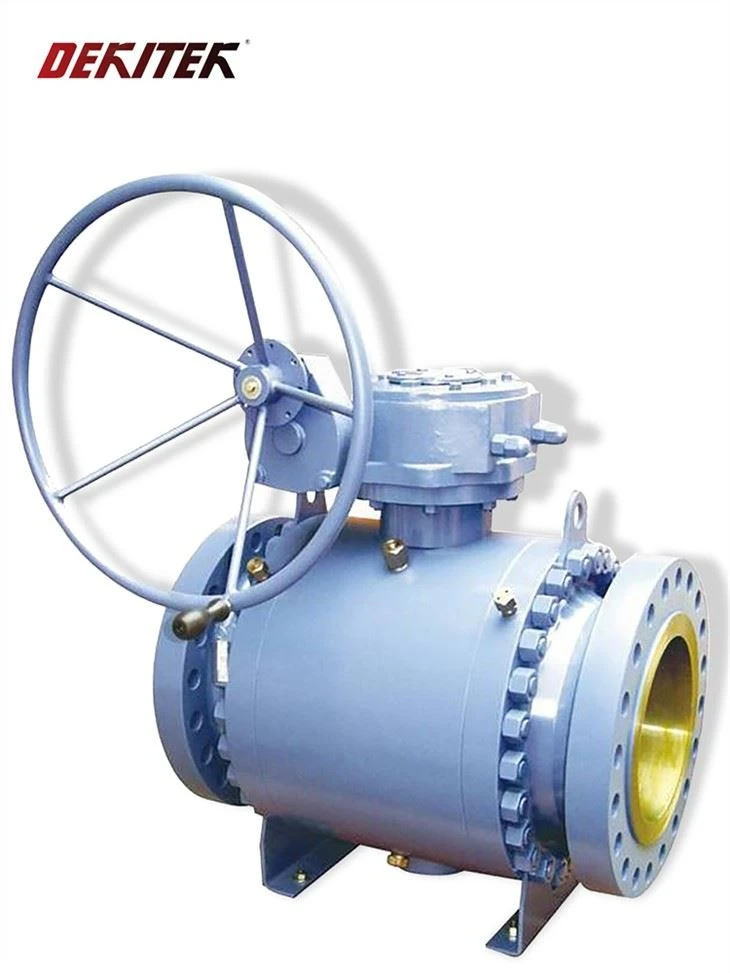
Hey there! As a supplier of Forged Floating Soft Seated Ball Valves, I'm here to walk you through the process of installing a positioner on one of these valves. It might seem a bit tricky at first, but with the right steps, you'll get the hang of it in no time.
First off, let's understand what a positioner does. A positioner is a device that helps to accurately control the position of the valve. It ensures that the valve opens and closes exactly as it should, based on the input signals it receives. This is super important for applications where precise flow control is needed.
Pre - installation Checks
Before you start the installation, you've got to do some checks. First, make sure you've got the right positioner for your Forged Floating Soft Seated Ball Valve. Check the specifications of both the valve and the positioner to ensure compatibility. You don't want to end up with a positioner that's too big or too small for your valve.
Inspect the valve and the positioner for any visible damage. Look for cracks, dents, or any other signs of wear and tear. If you find any issues, it's best to address them before proceeding with the installation. You can check out our Forged Floating Soft Seated Ball Valve product page for more details on the valve's features and specifications.
Tools You'll Need
To install the positioner, you'll need a few basic tools. A wrench is a must - have for tightening bolts and nuts. You might also need a screwdriver, depending on the type of positioner and how it's attached to the valve. A level can be useful to make sure the positioner is installed straight. And don't forget a measuring tape to ensure proper alignment.
Mounting the Positioner
The first step in mounting the positioner is to find the right spot on the valve. Most positioners are designed to be mounted on the actuator of the valve. The actuator is the part that moves the valve to open or close it.
Start by cleaning the mounting surface on the actuator. Remove any dirt, grease, or debris. This will ensure a good, solid connection between the positioner and the actuator.
Place the positioner on the mounting surface and align it properly. Use the holes in the positioner and the actuator as a guide. Insert the bolts through the holes and hand - tighten the nuts. Don't fully tighten them yet; you'll need to make some adjustments first.
Connecting the Linkage
Once the positioner is mounted, you need to connect the linkage. The linkage is what transfers the movement from the positioner to the valve. It's usually a rod or a series of rods that connect the positioner to the valve stem.
Attach one end of the linkage to the positioner and the other end to the valve stem. Make sure the connection is secure. You may need to use a pin or a clip to hold the linkage in place. Adjust the length of the linkage so that it moves freely without any binding.

Electrical and Pneumatic Connections
If your positioner is electrically or pneumatically operated, you'll need to make the appropriate connections.
For electrical connections, first, turn off the power supply to avoid any electrical shocks. Connect the wires from the positioner to the control system according to the wiring diagram provided with the positioner. Make sure all the connections are tight and insulated to prevent any short - circuits.
If it's a pneumatic positioner, connect the air supply lines. Use the correct fittings and make sure there are no air leaks. You can use a soapy water solution to check for leaks. If you see bubbles forming, there's a leak, and you'll need to tighten the connection or replace the fitting.
Calibration
After the positioner is installed and all the connections are made, it's time to calibrate it. Calibration is the process of adjusting the positioner so that it accurately controls the valve position.
Start by setting the zero and span values. The zero value corresponds to the fully closed position of the valve, and the span value corresponds to the fully open position. Use the calibration buttons or knobs on the positioner to adjust these values.
You can use a valve position indicator or a flow meter to check the accuracy of the calibration. Make small adjustments as needed until the valve opens and closes at the correct positions.
Testing
Once the calibration is done, it's time to test the valve and the positioner. Turn on the power or air supply and send a control signal to the positioner. Watch the valve as it opens and closes. Make sure it moves smoothly and accurately to the desired positions.
Check for any abnormal noises or vibrations. If you notice anything unusual, stop the test immediately and check for any problems. It could be a loose connection, a misaligned linkage, or an issue with the calibration.
Maintenance Tips
To keep your positioner and valve working properly, regular maintenance is essential. Check the connections periodically to make sure they're still tight. Clean the positioner and the valve regularly to prevent the buildup of dirt and debris.
Lubricate the moving parts of the positioner and the valve as recommended by the manufacturer. This will help to reduce wear and tear and ensure smooth operation.
Other Related Valves
We also offer other types of high - quality valves, such as Fully Welded Ball Valve and Trunnion Mounted Metal Seated Ball Valve. These valves have their own unique features and applications, and if you're interested, you can check out their product pages for more information.
Conclusion
Installing a positioner on a Forged Floating Soft Seated Ball Valve might seem like a complex task, but if you follow these steps, you'll be able to do it successfully. Remember to do your pre - installation checks, use the right tools, and take your time with the calibration and testing.
If you have any questions or need further assistance with the installation or if you're interested in purchasing our valves, feel free to reach out. We're always here to help you with your valve needs.
References
- Manufacturer's manuals for Forged Floating Soft Seated Ball Valves and positioners.
- Industry standards for valve installation and calibration.