
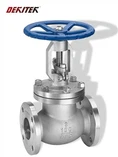

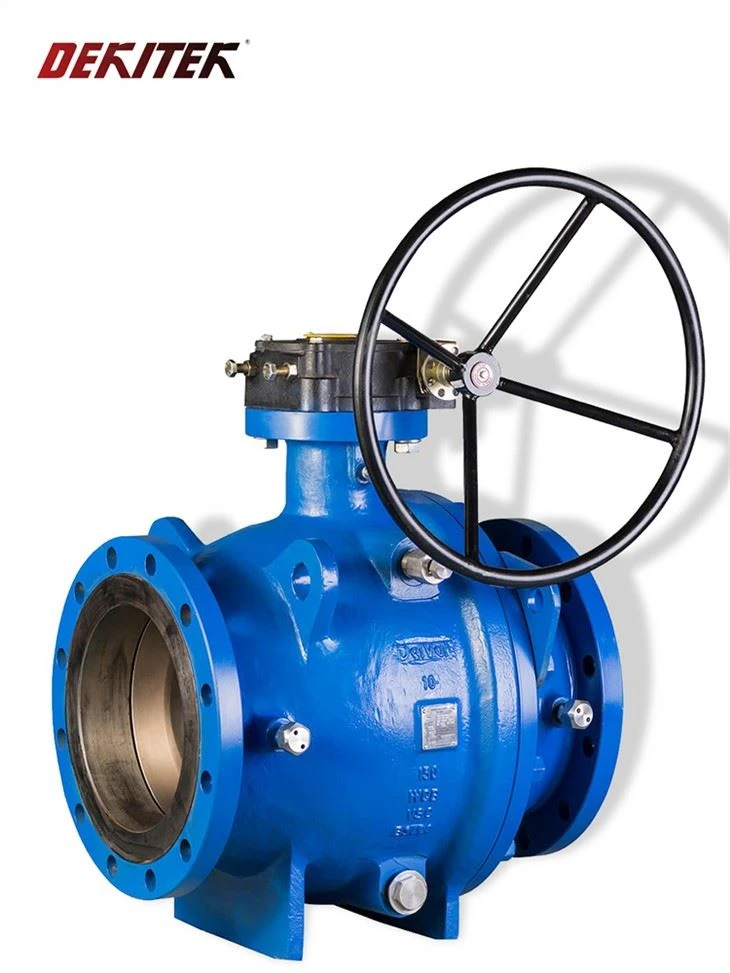
Installing a fully welded ball valve in a pipeline with a low flow rate requires a comprehensive understanding of both the valve and the pipeline system. As a reputable supplier of Fully Welded Ball Valves, I am here to guide you through this process step - by - step, ensuring a successful installation that meets all your operational needs.
Understanding the Low - Flow Pipeline Environment
Before delving into the installation process, it's crucial to understand the unique characteristics of a low - flow pipeline. Low - flow pipelines typically transport fluids at a relatively slow rate. This can be due to various factors such as small - diameter pipes, long distances, or the nature of the fluid itself. In such an environment, the valve needs to be carefully selected and installed to ensure minimal disruption to the flow and optimal performance.
Selecting the Right Fully Welded Ball Valve
The first step in the installation process is choosing the appropriate fully welded ball valve for your low - flow pipeline. Consider the following factors:
- Size: The valve size should match the pipeline diameter. A valve that is too large or too small can cause flow restrictions or inefficiencies.
- Material: Select a valve made from materials that are compatible with the fluid in the pipeline. For example, if the fluid is corrosive, choose a valve with a corrosion - resistant coating or made from a corrosion - resistant alloy.
- Pressure Rating: Ensure that the valve's pressure rating is suitable for the operating pressure of the pipeline. In a low - flow pipeline, the pressure may be relatively low, but it's still important to choose a valve that can handle any potential pressure fluctuations.
As a supplier, we offer a wide range of Fully Welded Ball Valves that can be customized to meet your specific requirements. Our valves are designed to provide reliable performance in various pipeline environments, including low - flow systems.
Pre - Installation Preparation
- Inspect the Valve: Before installation, carefully inspect the fully welded ball valve for any damage or defects. Check the valve body, ball, stem, and seals for signs of wear, cracks, or other issues. If any problems are found, contact the supplier for replacement or repair.
- Clean the Pipeline: Thoroughly clean the pipeline to remove any dirt, debris, or contaminants. This will prevent these particles from entering the valve and causing damage or affecting its performance. Use a suitable cleaning agent and ensure that the pipeline is completely dry before installation.
- Mark the Installation Location: Mark the exact location where the valve will be installed on the pipeline. Ensure that there is enough space around the valve for easy access during installation and maintenance.
Installation Steps
- Position the Valve: Carefully place the fully welded ball valve in the marked location on the pipeline. Align the valve with the pipeline so that the valve ports are in line with the pipeline openings. Use a level to ensure that the valve is installed horizontally or vertically as required.
- Weld the Valve: Since it is a fully welded ball valve, welding is a critical step. Follow the welding procedures recommended by the valve manufacturer. Use the appropriate welding equipment and filler materials. Ensure that the welding is done by a qualified welder to ensure a strong and leak - free joint.
- Pre - heat the Valve and Pipeline: In some cases, pre - heating the valve and pipeline before welding can help reduce the risk of cracking. Follow the manufacturer's guidelines for pre - heating temperatures and times.
- Weld in Stages: Weld the valve to the pipeline in multiple stages to ensure even heat distribution and a proper weld. Allow each weld pass to cool before starting the next one.
- Inspect the Weld: After welding, inspect the weld for any signs of defects such as porosity, cracks, or incomplete fusion. Use non - destructive testing methods such as ultrasonic testing or X - ray inspection if necessary.
- Connect the Actuator (if applicable): If the valve is equipped with an actuator, such as an electric or pneumatic actuator, connect it to the valve stem according to the actuator manufacturer's instructions. Ensure that the actuator is properly aligned and secured.
- Test the Valve: Once the valve is installed, perform a series of tests to ensure its proper operation.
- Leak Test: Conduct a leak test by pressurizing the pipeline with a test fluid (usually water or air) and checking for any leaks around the valve and weld joints. Use a leak detection solution or pressure gauges to detect leaks.
- Function Test: Operate the valve several times to ensure that it opens and closes smoothly. Check the valve's position indicator to ensure that it accurately reflects the valve's position.
Post - Installation Checks
- Inspect the Installation: After the tests are completed, inspect the entire installation again to ensure that everything is in order. Check for any signs of leaks, loose connections, or other issues.
- Document the Installation: Keep a record of the installation, including the installation date, welding parameters, test results, and any other relevant information. This documentation will be useful for future maintenance and troubleshooting.
Maintenance Considerations
Proper maintenance is essential to ensure the long - term performance of the fully welded ball valve in a low - flow pipeline.
- Regular Inspection: Conduct regular inspections of the valve to check for any signs of wear, corrosion, or other issues. Inspect the valve body, ball, stem, and seals.
- Lubrication: If required, lubricate the valve stem and other moving parts according to the manufacturer's recommendations. This will help reduce friction and ensure smooth operation.
- Seal Replacement: Over time, the valve seals may wear out. Replace the seals as soon as signs of leakage or deterioration are detected to prevent further damage.
In addition to Fully Welded Ball Valves, we also offer other types of high - quality ball valves, such as Trunnion Mounted Metal Seated Ball Valve and Forged Floating Metal Seated Ball Valve. These valves can also be suitable for different pipeline applications, including low - flow systems.

Conclusion
Installing a fully welded ball valve in a low - flow pipeline requires careful planning, proper preparation, and precise execution. By following the steps outlined in this blog, you can ensure a successful installation that provides reliable performance for your pipeline system.
If you are in the market for high - quality ball valves, including fully welded ball valves, we are here to assist you. Our team of experts can help you select the right valve for your specific needs and provide you with all the support you need during the installation process. Contact us today to start the procurement discussion and find the best valve solution for your pipeline.
References
- Valve Manufacturer's Installation Manuals
- Pipeline Welding Standards and Guidelines
- Industry Best Practices for Valve Installation in Low - Flow Pipelines