


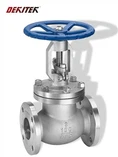

As a trusted supplier of Cast Steel Pressure Seal Gate Valves, I understand the importance of maintaining and replacing components in these essential industrial devices. In this blog post, I'll guide you through the process of replacing the gate in a Cast Steel Pressure Seal Gate Valve, offering practical insights and step-by-step instructions.
Understanding the Cast Steel Pressure Seal Gate Valve
Before delving into the replacement process, it's crucial to have a basic understanding of the Cast Steel Pressure Seal Gate Valve. These valves are designed to control the flow of fluids in high-pressure applications, such as power plants, refineries, and chemical processing facilities. The pressure seal design ensures a tight seal even under extreme pressure conditions, making them ideal for critical operations.
The gate is a key component of the valve, responsible for opening and closing the flow path. Over time, the gate may wear out or become damaged, necessitating replacement to maintain the valve's performance and reliability.
Tools and Materials Required
Before you begin the replacement process, gather the following tools and materials:
- Wrenches: A set of wrenches, including adjustable wrenches and socket wrenches, will be needed to remove and install the valve components.
- Screwdrivers: Phillips and flathead screwdrivers may be required to remove screws and fasteners.
- Gaskets: Replace the old gaskets with new ones to ensure a proper seal.
- Lubricant: Use a high-quality lubricant to lubricate the valve components during installation.
- Safety Equipment: Wear safety glasses, gloves, and other appropriate safety equipment to protect yourself during the replacement process.
Step-by-Step Guide to Replacing the Gate
Step 1: Isolate the Valve
Before starting any work on the valve, it's essential to isolate it from the system to prevent the flow of fluid. Close the upstream and downstream valves and relieve the pressure in the valve by opening the drain valve.
Step 2: Remove the Bonnet
The bonnet is the top part of the valve that houses the stem and other internal components. Use a wrench to remove the bolts or nuts that hold the bonnet in place. Carefully lift the bonnet off the valve body, taking care not to damage the gaskets or other components.
Step 3: Remove the Stem and Yoke
The stem is the rod that connects the gate to the actuator. Use a wrench to remove the nuts or bolts that hold the stem and yoke in place. Carefully lift the stem and yoke out of the valve body, taking note of their orientation for reinstallation.
Step 4: Remove the Old Gate
The gate is located inside the valve body and is connected to the stem. Use a wrench to remove the nuts or bolts that hold the gate in place. Carefully lift the old gate out of the valve body, taking care not to damage the valve seat or other components.
Step 5: Inspect the Valve Seat
While the gate is removed, inspect the valve seat for any signs of damage or wear. If the valve seat is damaged, it may need to be repaired or replaced to ensure a proper seal.
Step 6: Install the New Gate
Carefully place the new gate into the valve body, aligning it with the valve seat. Use a wrench to install the nuts or bolts that hold the gate in place, tightening them securely but not over-tightening.

Step 7: Reinstall the Stem and Yoke
Carefully place the stem and yoke back into the valve body, aligning them with the gate. Use a wrench to install the nuts or bolts that hold the stem and yoke in place, tightening them securely.
Step 8: Install the Bonnet
Place the new gaskets on the valve body and bonnet, ensuring they are properly aligned. Carefully lower the bonnet onto the valve body and use a wrench to install the bolts or nuts that hold the bonnet in place, tightening them securely.
Step 9: Test the Valve
Once the valve is reassembled, test it to ensure it is functioning properly. Open the upstream and downstream valves and slowly increase the pressure in the system. Check for any leaks or abnormal noises. If any issues are detected, shut down the system and repeat the replacement process.
Tips and Precautions
- Follow the manufacturer's instructions: Always refer to the manufacturer's instructions and guidelines when replacing the gate in a Cast Steel Pressure Seal Gate Valve. These instructions will provide specific information on the valve model and the replacement process.
- Use the Right Tools: Using the correct tools for the job will make the replacement process easier and safer. Make sure you have the necessary tools and equipment before starting the work.
- Inspect the Components: Before installing the new gate, inspect all the valve components for any signs of damage or wear. Replace any damaged or worn components to ensure the valve's performance and reliability.
- Lubricate the Components: Lubricate the valve components, such as the stem and gate, with a high-quality lubricant to reduce friction and ensure smooth operation.
- Take Your Time: Replacing the gate in a Cast Steel Pressure Seal Gate Valve is a complex process that requires patience and attention to detail. Take your time and follow the steps carefully to avoid making mistakes.
Conclusion
Replacing the gate in a Cast Steel Pressure Seal Gate Valve is a challenging but necessary task to maintain the valve's performance and reliability. By following the step-by-step guide outlined in this blog post and taking the necessary precautions, you can safely and effectively replace the gate and ensure the proper operation of the valve.
If you have any questions or need further assistance with replacing the gate in a Cast Steel Pressure Seal Gate Valve, please don't hesitate to contact us. As a leading supplier of Cast Steel Pressure Seal Gate Valves, we have the expertise and experience to provide you with the best solutions for your industrial valve needs.
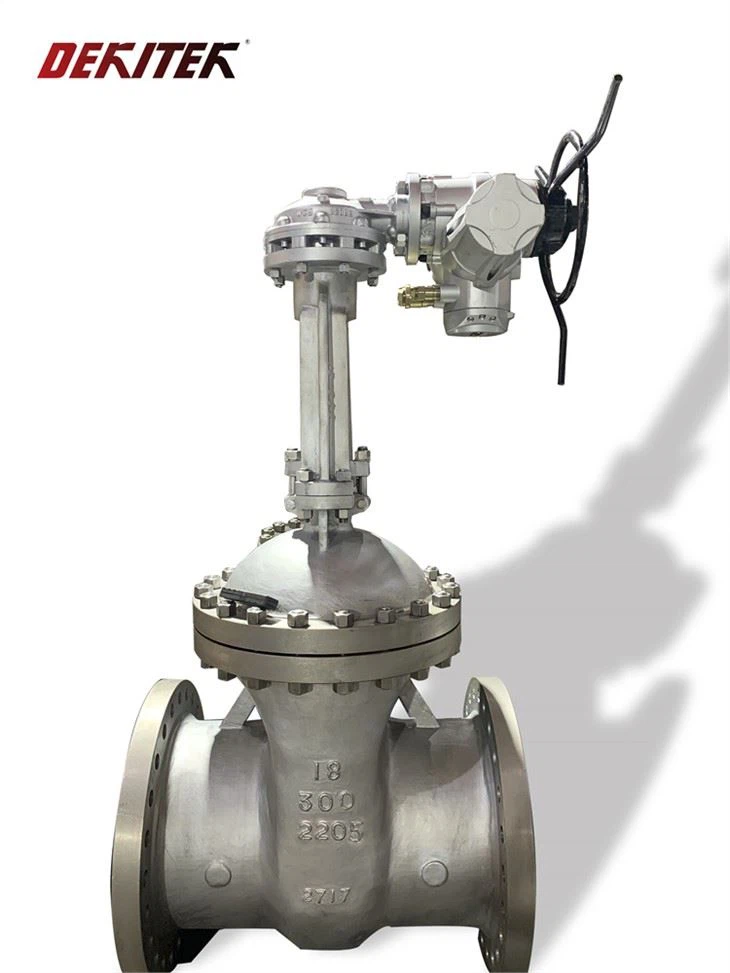
In addition to Cast Steel Pressure Seal Gate Valves, we also offer a wide range of other valve products, including Electric Actuator Gate Valve, Duplex Stainless Steel Gate Valve, and Stainless Steel Pressure Seal Gate Valve. Contact us today to learn more about our products and services and to discuss your specific requirements.
References
- Valve Handbook, by Robert W. Daugherty and Joseph B. Franzini
- Industrial Valves: Selection, Specification, and Installation, by Paul E. Wachel
- ASME B16.34 - Valves - Flanged, Threaded, and Welding End