

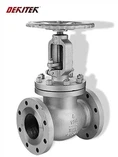
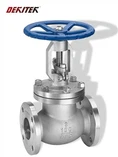
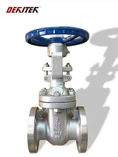
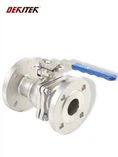
Ball valve installation and maintenance
1. Install the ball valve
1. Install the valve on the pipe. Either end of the valve can be installed on the upstream end. The handle actuated valve can be installed anywhere on the pipeline. But ball valves or pneumatic drives with gearboxes should be installed vertically, i.e. on a horizontal pipe with the drive above the pipe
2. Install gaskets between the valve flange and the pipe flange according to the piping design requirements.
3. The bolts on the flange need to be tightened symmetrically, continuously and evenly
4. Connect the pneumatic line (when using the pneumatic driver)
Check after installation
1. Operate the driver several times to open and close the ball valve. It should be flexible and not stalled to confirm its working
2. Check the sealing performance of the flange connection surface between the pipeline and the ball valve according to the pipeline design requirements.
2. Maintenance of ball valve
◆Before dismantling, you must first check that the upper and lower pipelines of the ball valve have been depressurized.
◆ During disassembly and reassembly, care must be taken to prevent damage to the sealing surfaces of parts, especially non-metallic parts. Special tools should be used when removing O-rings
◆When installing, the bolts on the flange must be tightened gradually and evenly.
◆The cleaning agent should be compatible with the rubber parts, plastic parts, metal parts and working medium (eg gas) in the ball valve. When the working medium is gas, gasoline (GB484-89) can be used to clean metal parts. Clean non-metallic parts with purified water or alcohol
◆Removed individual parts can be cleaned by immersion. Metal parts with undecomposed non-metal parts can be scrubbed with a clean filament cloth soaked in detergent (to prevent fibers from falling off and adhering to the parts). When cleaning, all grease, dirt, glue, dust, etc. adhering to the wall must be removed.